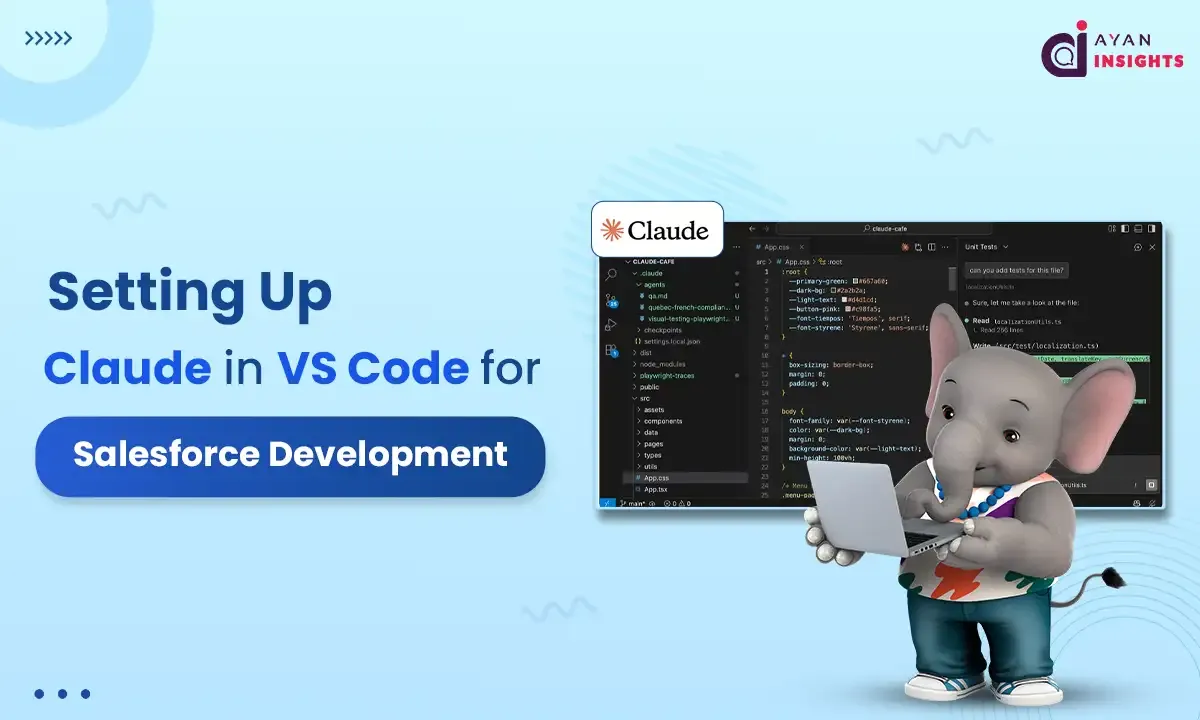
AI is quickly becoming part of the daily workflow for Salesforce developers. Instead of switching between browser tabs, documentation, and Trailhead, you can bring an AI assistant directly into your IDE. This guide walks through setting up Claude inside Visual Studio Code and using it effectively for Salesforce development.
Summarize this blog post with:
What is Claude?
Claude is an artificial intelligence assistant developed by Anthropic.
It is a large language model designed to understand and generate human-like text. Claude can help with tasks such as writing code, answering questions, summarizing content, explaining technical concepts, and assisting with problem-solving.
In simple terms, Claude is an AI tool that reads what you type, understands the context, and responds with helpful, structured output based on that input.
Why Use Claude Inside VS Code?
When working with Apex, LWC, integrations, or metadata deployments, context matters. Having AI inside your editor means:
- Faster code generation for Apex classes and test methods
- Quick explanations of legacy triggers,classes,LWC.
- Help writing SOQL queries
- LWC boilerplate creation
- Debug assistance without leaving your workspace and many more.
Prerequisites
Before you begin, make sure you have:
- Visual Studio Code installed
- Salesforce CLI (sf CLI recommended)
- Salesforce Extension Pack for VS Code
- Claude VS Code extension
- An Anthropic API key (for Claude access)
Install the cloud code – curl -fsSL https://claude.ai/install.sh | bash

Once you install the Claude VS Code extension, you will see three options to authorize Claude, as shown below.

In this example, we’ll use the first option: Claude.ai subscription. A Claude Max or Pro plan is required to connect to Claude Code using your API key.
Once connected, authorize VS Code and it will generate an access key. Copy and paste the key, and you’ll be successfully connected.


Once connected, the Claude panel will appear within VS Studio, allowing you to start chatting with Claude.

Below are several practical examples that show how developers can use Claude inside VS Code for Salesforce development tasks. Each example includes a prompt you can give Claude and a short explanation of what it helps accomplish.
1. Generate an Apex Trigger with Best Practices
Example Prompt to Claude
Create an Apex trigger on Opportunity that updates a custom field “Total_Line_Item_Value__c” by summing all related OpportunityLineItems.
Follow Salesforce best practices such as bulkification and avoiding SOQL in loops. Also include a handler class.
What Claude Does
Claude generates both the trigger and the handler class, following recommended Salesforce patterns such as:
- Bulk-safe logic
- Separation of trigger and business logic
- Proper SOQL usage
- Scalable design
This is helpful when developers want to quickly scaffold clean Apex structures instead of writing boilerplate code manually.
2. Convert Business Requirements into Apex Logic
Example Prompt
Convert the following requirement into Apex code:
“When an Account is marked as ‘Partner’, automatically create a related Partner Onboarding record and assign it to the Partner Success queue.”
Include Apex classes and comments explaining the logic.
What Claude Does
Claude interprets functional requirements and converts them into technical implementation.
This helps when developers or architects want to:
- Translate business stories into code
- Validate implementation approaches
- Speed up development during early design phases.
3. Generate Lightning Web Component (LWC)
Example Prompt
Create a Lightning Web Component that displays a list of Opportunities for the current Account record page.
Requirements:
- Use @wire with Apex
- Display Opportunity Name, Stage, and Amount
- Show results in a lightning-datatable
What Claude Does
Claude generates:
- LWC HTML template
- JavaScript controller
- Apex controller
This reduces the time needed to build standard UI components and helps developers quickly create reusable Lightning components.
4. Create Salesforce Integration Code
Example Prompt
Generate Apex code to call an external REST API to retrieve shipping rates.
Requirements:
- Use Named Credentials
- Handle JSON response
- Include error handling
What Claude Does
Claude produces a complete integration example, including:
- HTTP callout logic
- JSON parsing
- Exception handling
This is valuable when building third-party integrations, which are common in enterprise Salesforce environments.
5. Explain Complex Salesforce Code
Example Prompt
Explain the following Apex class in simple terms.
Highlight what each method does and identify potential improvements.
Apex Class
public with sharing class OpportunityTriggerHandler {

    public static void recalcLineItemTotals(Set opportunityIds) {
        if (opportunityIds == null || opportunityIds.isEmpty()) return;

        Map<Id, Decimal> oppIdToTotal = new Map<Id, Decimal>();

        for (AggregateResult ar : [
            SELECT OpportunityId oppId, SUM(TotalPrice) total
            FROM OpportunityLineItem
            WHERE OpportunityId IN :opportunityIds
            GROUP BY OpportunityId
        ]) {
            oppIdToTotal.put((Id) ar.get('oppId'), (Decimal) ar.get('total'));
        }

        List oppsToUpdate = new List();

        for (Id oppId : opportunityIds) {
            Decimal total = oppIdToTotal.containsKey(oppId)
                ? oppIdToTotal.get(oppId)
                : 0;

            oppsToUpdate.add(new Opportunity(
                Id = oppId,
                Total_Line_Item_Value__c = total
            ));
        }

        if (!oppsToUpdate.isEmpty()) {
            update oppsToUpdate;
        }
    }
}
LWC
<template>
  <lightning-card title="Opportunities">

    <template if:true={opps.data}>
      <lightning-datatable
        key-field="Id"
        data={opps.data}
        columns={columns}>
      </lightning-datatable>
    </template>

    <template if:true={opps.error}>
      <div class="slds-p-around_medium slds-text-color_error">
        Failed to load opportunities.
      </div>
    </template>

  </lightning-card>
</template>
What Claude Does
Claude breaks down the code and explains:
- Business logic
- Key patterns used
- Possible improvements
This is especially helpful for knowledge sharing within development teams.
Choosing the Right Claude Plan for Your Needs
Choose a Claude plan based on how often you plan to use it and what features you need. The Free plan works well for light or occasional use. The Pro plan offers higher limits and added features for regular users. For heavy usage or team access, Max, Team, or Enterprise plans provide more capacity and advanced controls. Select the plan that aligns with your usage needs and goals.
Claude Pricing Overview
| Plan | Starting Price (USD) | Best For | Key Highlights |
|---|---|---|---|
| Free | $0 / month | Light or occasional users | Basic access to Claude via web, desktop, and mobile |
| Pro | ~ $20 / month (lower with annual billing) | Individual developers and regular users | Higher usage limits, access to advanced features and tools |
| Max | Starts around $100 / month | Heavy individual users | Significantly higher usage limits and priority access |
| Team | Per-user pricing (monthly/annual options) | Small to mid-size teams | Collaboration features, centralized billing, admin controls |
| Enterprise | Custom pricing | Large organizations | Advanced security, compliance, SSO, user management, expanded limits |
For the latest and most accurate pricing details, refer to the official page:
Final Thoughts
Based on a few examples I tried in Claude through VS Code, I was genuinely impressed with how thoughtful and precise the responses were. Claude doesn’t just generate code quickly; it actually walks through the reasoning behind the solution. In several cases, it analyzed the requirement step by step and produced accurate Salesforce code along with a clear explanation of the approach.
What stood out most was how it explained why a particular design choice was made, pointed out areas where the implementation could be improved, and even flagged situations where certain tags or methods might be deprecated depending on the Salesforce API version. That kind of context is really useful, especially when you are trying to follow best practices.
Another helpful aspect was the way Claude presented the results. Along with the code, it often included a visual or logical walkthrough of how the code works, the flow of execution, and the key design decisions behind it. This makes it easier not only to use the code but also to understand it and learn from it.
From a developer’s perspective, this can save a lot of time during development, debugging, or even code reviews. It can help generate initial code scaffolding, suggest improvements, and explain complex logic in a simple way.
Overall, Claude did a really solid job in these scenarios. If you work with Salesforce development or any type of coding in VS Code, it’s definitely worth trying Claude and seeing the difference for yourself.
Here are some links you can refer to for more details.
Salesforce Extension Pack for VS Code
https://marketplace.visualstudio.com/items?itemName=salesforce.salesforcedx-vscode
Claude Code for VS Code
https://marketplace.visualstudio.com/items?itemName=anthropic.claude-code